2.4 Upgrade from Micro Focus SMT 1.1 to Micro Focus SMT 2.0
Micro Focus SMT provides the option of upgrading an existing system to the new version without completely reinstalling it. No new installation is needed.
2.4.1 Supported Upgrade Paths
The following table outlines the supported paths for upgrading to Micro Focus SMT.
|
Source Version |
Destination Version |
|---|---|
|
|
|
|
2.4.2 Upgrading Micro Focus SMT 1.1 on OES 2018 SP2 or SP3 and SLES 12 SP4 or SP5 to Micro Focus SMT 2.0
Preparing the Server You are Upgrading
-
Ensure that the server is updated to the latest available patch before upgrading:
-
It is highly recommended to back up your database and configurations before upgrading. To perform the database backup, perform the following:
-
Log in to your SMT server
-
Create a dump file and save it:
mysqldump -u smt -p smt> smt_backup.sql
-
Adding Micro Focus SMT as an Add-on Product
Perform a down server media upgrade of SLES/ OES and add Micro Focus Subscription Management Tool as an add-on product during the upgrade.
Upgrading to Micro Focus SMT
-
Log in to your SMT Server.
-
Shutdown the SMT Server, insert the OES/ SLES installation media and boot your machine.
-
Select the Upgrade entry on the boot screen.
YaST checks your partitions for already installed systems.
-
On the Welcome screen, choose Language and Keyboard and accept the license agreement. Proceed with Next.
YaST checks your partitions for already installed systems.
-
On the Select for Upgrade screen, select the partition to upgrade and click Next.
YaST mounts the selected partition and displays all repositories that have been found on the partition that you want to upgrade.
-
On the Previously Used Repositories screen, adjust the status of the repositories: enable those you want to include in the upgrade process and disable any repositories that are no longer needed. Proceed with Next.
-
On the Registration screen, select whether to register the upgraded system now (by entering your registration data and clicking Next) or if to Skip Registration. For details on registering your system, see Registering Your System in SLES or Specifying Custmer Center Configuration Settings in OES Installation guide.
-
On the Add On Product screen, select I would like to install an Add -On product to add Micro Focus SMT.
-
Specify a media type, a local path, or a network resource hosting the repository of MFSMT and continue with the upgrade process.
-
(Conditional - SLES) Click Trust to import the key found in repository.
-
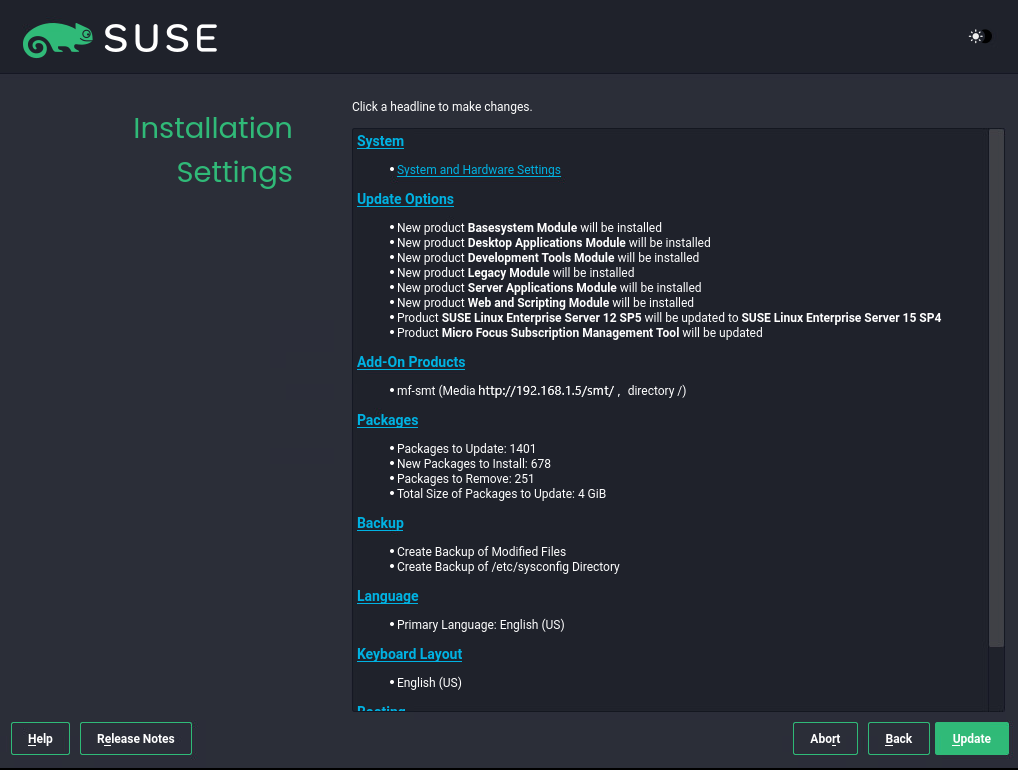
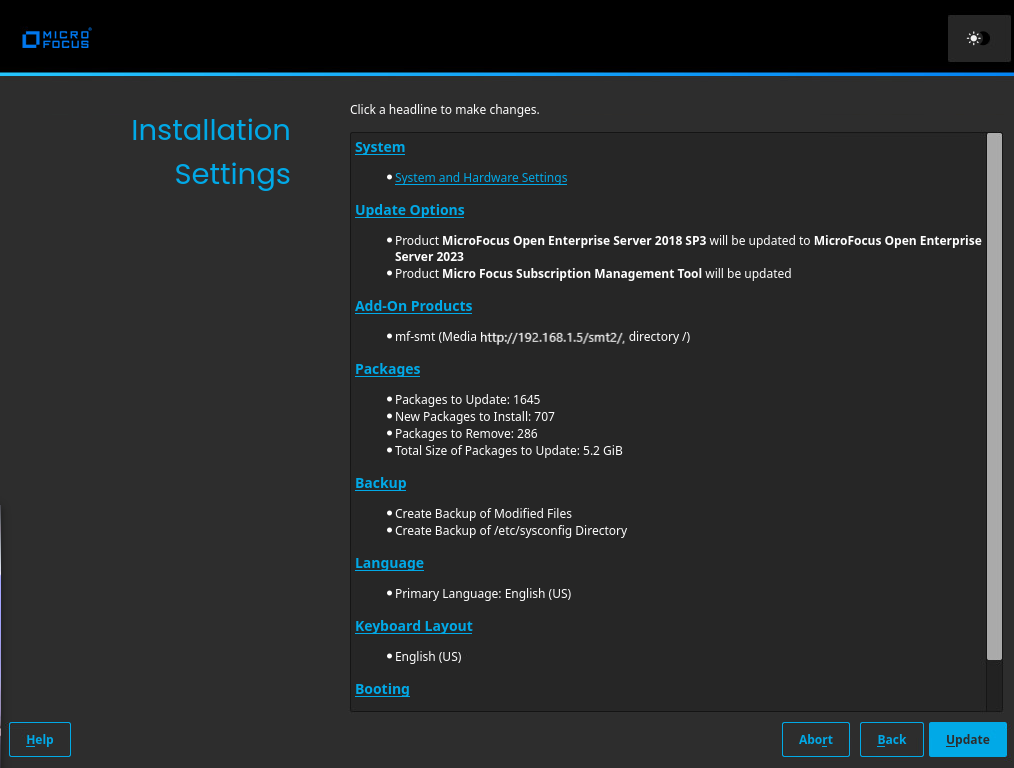
Review the Installation Settings for the upgrade, especially the Update Options.
-
For example on SLES 15 SP4:

-
For example on OES 2023:

-
-
If all settings are as per your requirement, start the installation and removal procedure by clicking Update.
-
On completion of the upgrade, check if the smt.target service is enabled to start at the system boot:
systemctl is-enabled smt.target
If the smt.target service is not enabled, enable and start the service:
systemctl enable --now smt.target