19.4 Using the Plug and Play (PnP) ID Translator Feature
“Plug and Play” (PnP) refers to Windows operating system functionality that supports connectivity, configuration, and management with native plug and play devices. In Windows, the feature facilitates discovery of PnP compliant hardware devices attached to a PnP compliant bus. PnP compliant devices are assigned a set of Device Identification Strings by their manufacturer. These strings are programmed into the device when it is built. These strings are fundamental to how PnP works: they are part of the Windows' information source used to match the device with a suitable driver.
When the PlateSpin Server discovers workloads and their available hardware, the discovery includes these PnP IDs and the storage of that data as part of the workload’s details. PlateSpin uses the IDs to determine which, if any, drivers need to be injected during a conversion operation. The PlateSpin Server maintains a database of PnP IDs for the associated drivers of each of the supported operating systems. Because Windows and Linux use different formats for PnP IDs, a Windows workload discovered by the Migrate Linux RAM disk contains Linux-style PnP IDs.
These IDs are formatted consistently, so PlateSpin can apply a standard transformation to each of them to determine its corresponding Windows PnP ID. The translation occurs automatically within the PlateSpin product. The feature enables you or a support technician to add, edit or remove custom PnP mappings.
Follow these steps to use the PnP ID Translation feature:
-
Launch the PlateSpin Driver Manager tool and connect to the PlateSpin Server.
-
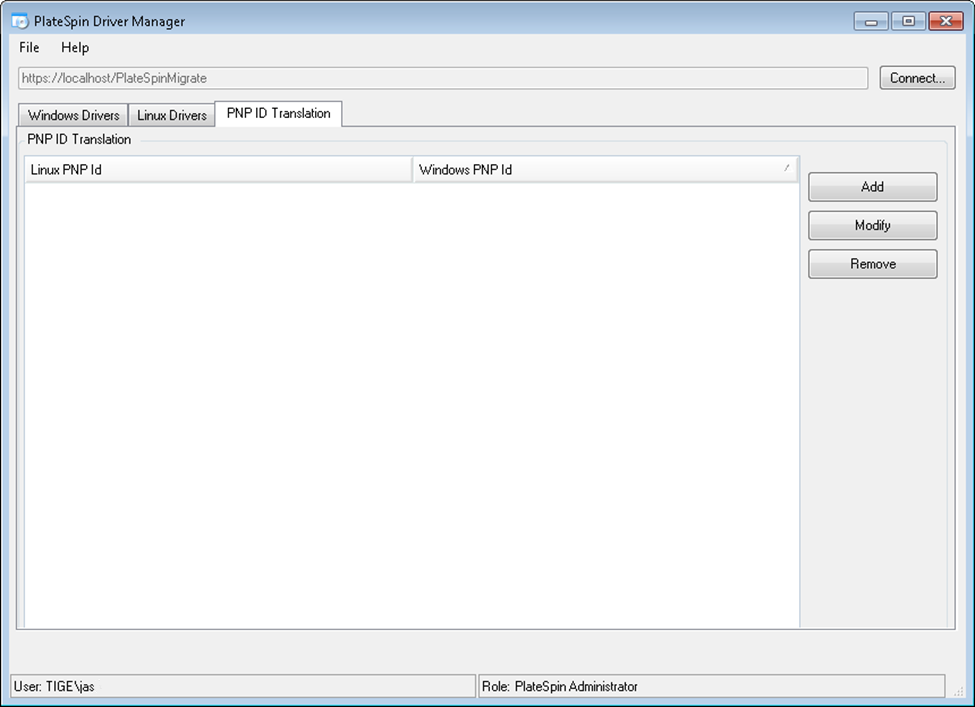
In the Driver Manager tool, select the PNP ID Translation tab to open the PNP ID Translation list, which includes the currently known custom PnP ID mappings.
-
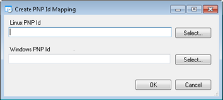
On the list page, click Add to display the Create PNP ID Mapping dialog box.
-
In the Linux PNP ID field, add a Linux PnP ID.
-
(Conditional) If you know it, type the Linux PnP ID you want to use.
or
-
(Conditional) Select an ID from a previously discovered workload:
-
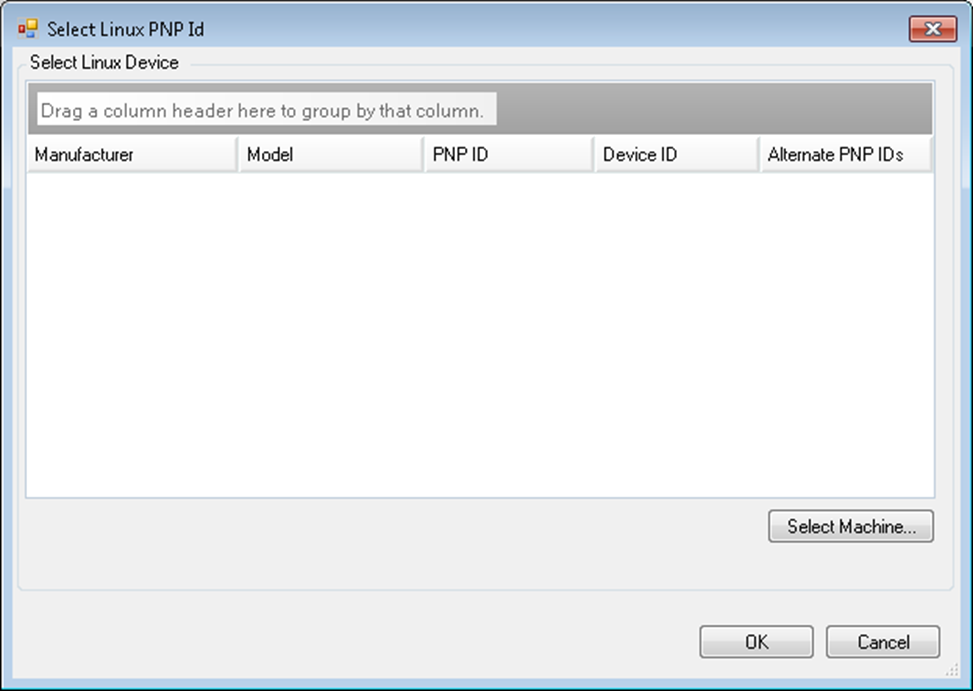
Adjacent to the Linux PnP ID field, click Select to open the Select Linux PnP ID dialog box.
-
On the dialog box, click Select Machine to display a list of the machines previously discovered by the PlateSpin Linux RAM disk.
-
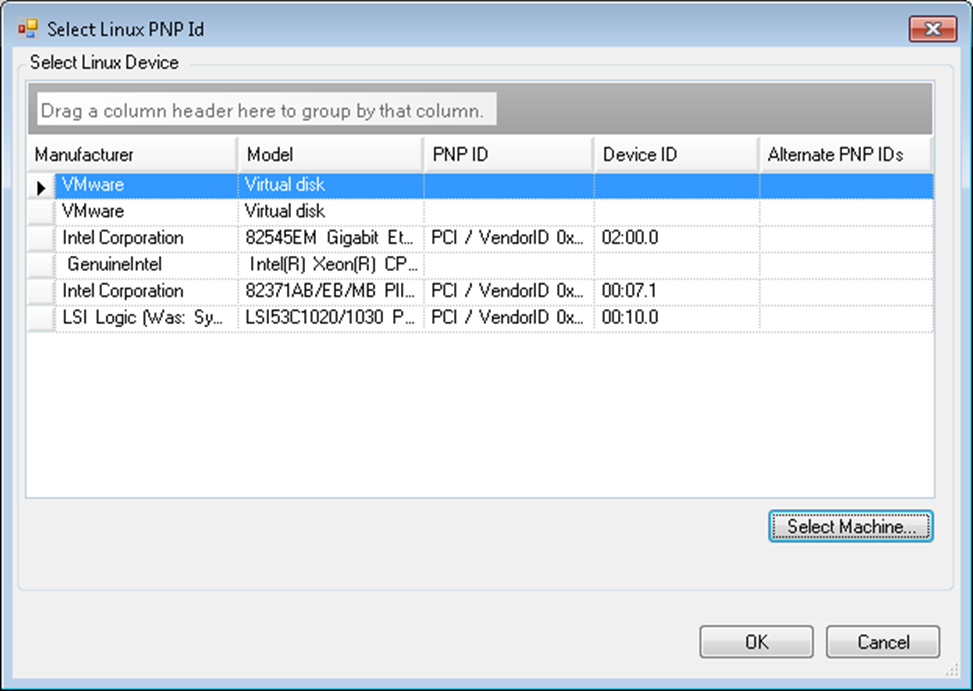
Highlight one of the devices in the list, then click Select to populate the list in the Select Linux PnP ID dialog box.
-
Select a device on the list, then click OK to apply the standard transformation to the PnP ID and display it in the Create PnP ID Mapping dialog box.
-
-
-
In the Windows PNP ID field, add a Windows PnP ID:
-
(Conditional) If you know it, type the Windows PnP ID you want to use.
or
-
(Conditional) Adjacent to the Windows PNP ID field, click Select to open a mapping tool that presents three methods for helping you map a the Windows PnP ID:
-
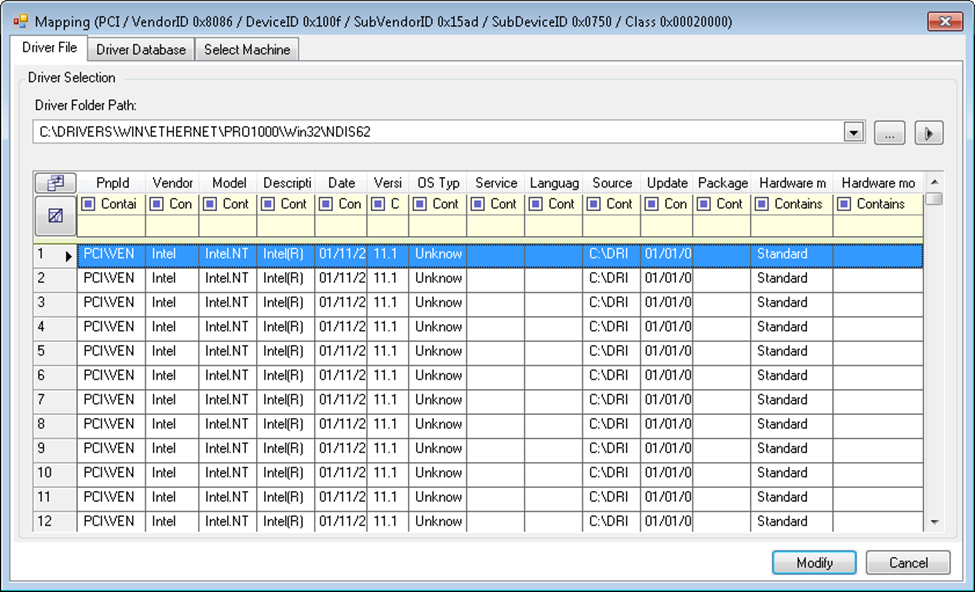
Under the Driver File tab, browse to and select a Windows driver file (that is, a file with the *.inf extension), select the desired PnP ID, then click Modify.
-
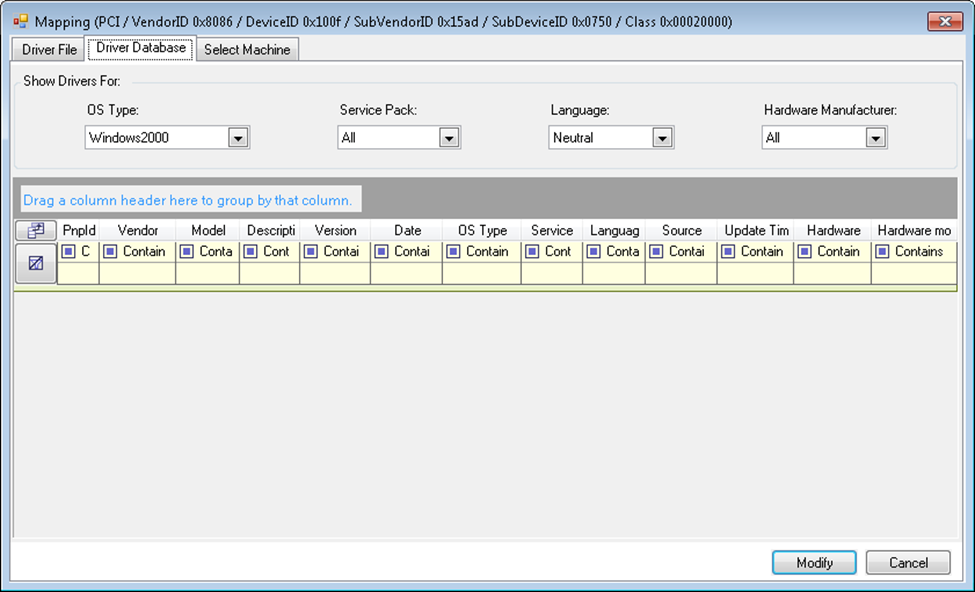
Under the Driver Database tab, browse to and select the existing driver database, select the correct PnP ID, then select Modify.
-
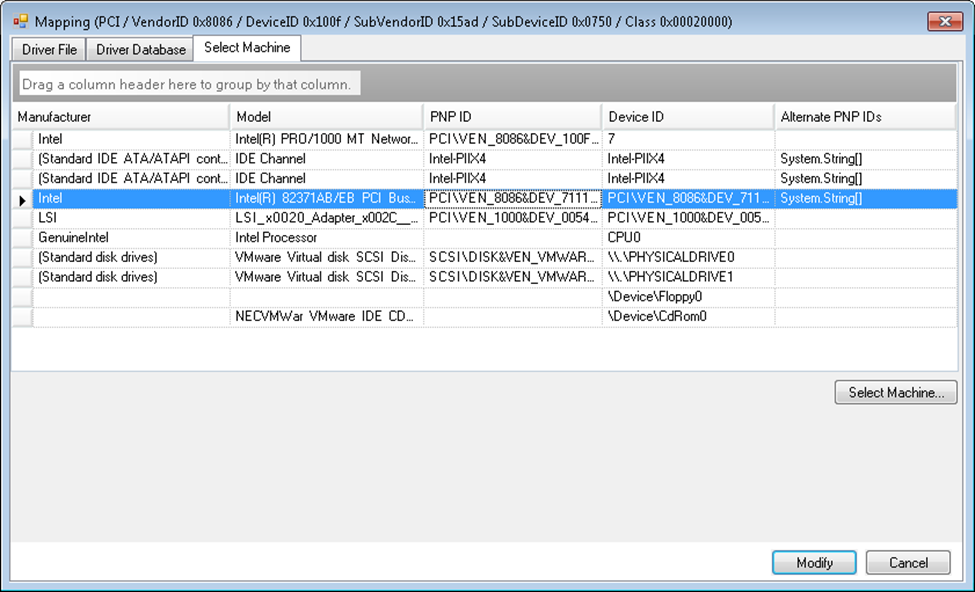
Under the Select Machine tab, click Select Machine, then, from the list of Windows machines discovered using live discovery, select a machine, click OK to display its devices, select the desired PnP ID, then click Modify.
IMPORTANT:Selecting a Windows PnP ID that does not have an associated driver package installed might result in a failure at conversion time.
-
-
-
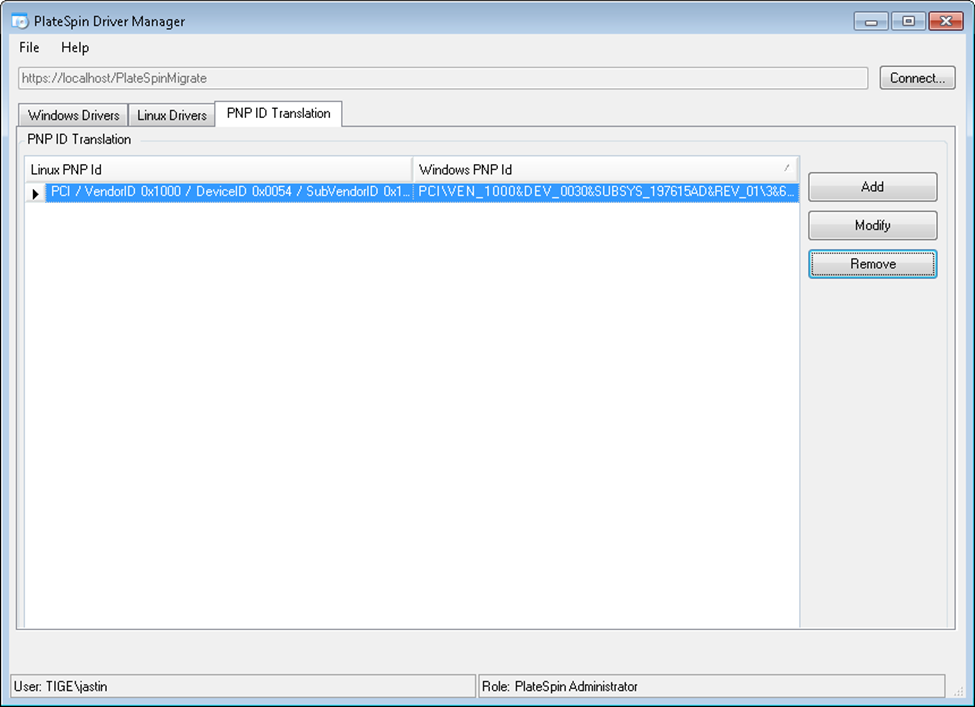
In the Create PnP Id Mapping dialog box, confirm that the correct Linux PnP ID and the correct Windows PnP are selected, then click OK to display the PNP ID Translation page of the PlateSpin Driver Manager.
-
(Optional) To modify or remove the mapping in the PNP ID Translation list, select the mapping pattern, then click Remove or Modify, depending on the operation you want to perform.
Remove simply deletes the mapping (after displaying a confirmation dialog box).
To modify,
-
Click Modify to open the Create PNP id Mapping dialog box.
-
Repeat Step 5 to modify the Windows PnP ID.
NOTE:You cannot select or modify the Linux PnP ID.
-