Configuring Fortify Software Security Center After an Upgrade
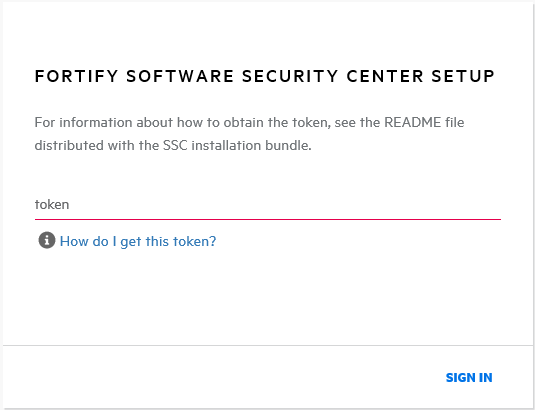
After you upgrade Fortify Software Security Center and go to your Fortify Software Security Center URL in a browser window, the Setup wizard opens.
Note: The Setup wizard is available to administrators only, and only after first deployment of Fortify Software Security Center, after an upgrade, or after the server is placed in maintenance mode (see Placing Fortify Software Security Center in Maintenance Mode).
-
After you deploy a new version of the Fortify Software Security Center WAR file in Tomcat Server, open a browser window and type your Fortify Software Security Center server URL.

- Go to the
<fortify.home>/<app_context>directory, and open theinit.tokenfile. - Copy the contents of the
init.tokenfile to the clipboard. -
In the upper right corner of the Fortify Software Security Center screen, click ADMINISTRATORS.

-
Paste the string you copied from the
init.tokenfile into the text box, and then click SIGN IN.The Fortify Software Security Center Setup wizard opens.
-
If you need to change any of the configuration settings on the CONFIGURATION or CORE SETTINGS steps, you can do so using the instructions provided in Configuring Fortify Software Security Center for the First Time.
- Click NEXT until you reach the DATABASE SETUP step.
-
On the DATABASE SETUP step, do the following:
-
In the DATABASE TYPE box, select the type that matches the Fortify Software Security Center database type.
- In the DATABASE USERNAME box, type the username for your Fortify Software Security Center database. For more information, see Database User Account Privileges.
- In the DATABASE PASSWORD box, type the password for your Fortify Software Security Center database.
-
In the JDBC URL box, type the URL for the Fortify Software Security Center database.
Caution! The database name (including letter case) in the JDBC URL must exactly match your Fortify Software Security Center database name.
-
To test the connection to your database, click TEST CONNECTION.
If the connection test fails, check the
ssc.logfile (<fortify.home>/<appcontext>/logsdirectory) to determine the cause. -
After the Setup wizard indicates that the connection was successful, in the right panel, read the warning and Instructions, and then click DOWNLOAD SCRIPT.
-
Save and run the
ssc-migration.sqlscript. (For instructions, see About the Fortify Software Security Center Database Tables and the Schema.)Note: Depending on the size of the source
 database, data migration may take several hours to complete.
-
- After you run the
ssc-migration.sqlscript, click NEXT. -
On the DATABASE SEEDING step, do the following:
- In the left panel, use BROWSE to locate and select your process seed bundle zip file, and then click SEED DATABASE.
- Use BROWSE to locate and select your report seed bundle zip file, and then click SEED DATABASE.
- (Optional) Use BROWSE to locate and select your PCI basic seed bundle zip file, and then click SEED DATABASE.
- Click NEXT.
- Click FINISH.
-
Restart Tomcat Server.
Tip: If you later find that you need to change any of the configuration settings, you can place Fortify Software Security Center in maintenance mode, and then make any necessary changes. For instructions on how to place Fortify Software Security Center in maintenance mode, see Placing Fortify Software Security Center in Maintenance Mode.
Configuring Fortify Software Security Center for the First Time