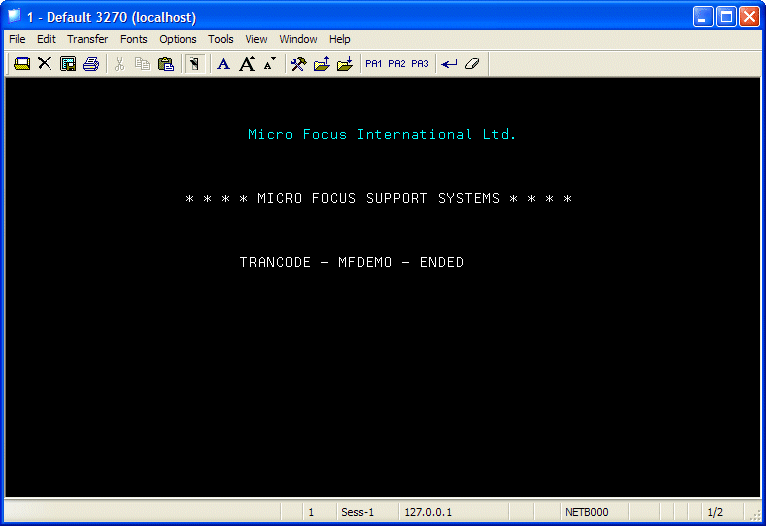
To start the demonstration application:
- Start a TN3270 emulator, for example Rumba.
- Specify the following connection information. Note that field names could vary depending on the 3270 emulator you are using.
| Field
|
Value
|
|
Host name
|
The name of the computer the enterprise server is running on. If it is the current machine, you can usually specify
localhost; however, some versions of Windows might prefer that you use the actual machine name or the
127.0.0.1 IP address instead.
|
|
Port
|
The number you specified for the field
using port in the section
Creating an MSS-enabled Enterprise Server.
|
- Connect.
- Specify a user id and password, then press
Enter. If you have not configured Enterprise Server security you can use the user SYSAD with password SYSAD.
- Clear the screen.
Note: If you are using Rumba, press
Ctrl+Shift+Z to clear the screen.
- Enter
MFDEMO
with a trailing space.
The following shows the navigation through the screens of the MFDEMO application; enter the characters shown in green:
Note: Each table you add must have a unique table ID.
Figure 1. The "Add Testdept Table" Screen in Transaction MFDEMO
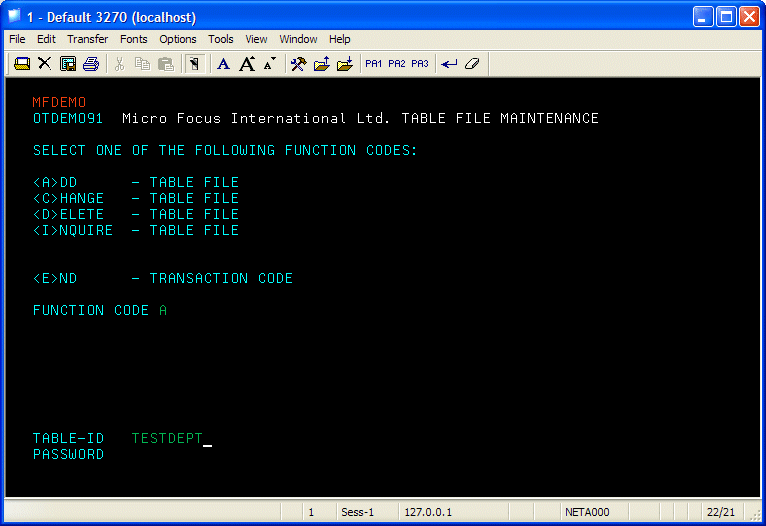
Press
Enter when you have finished entering data on a screen.
On the screens that follow press
Tab to move to the next field. Press
Shift+Tab to move to the previous field.
Figure 2. The "Add Testdept Elements" Screen
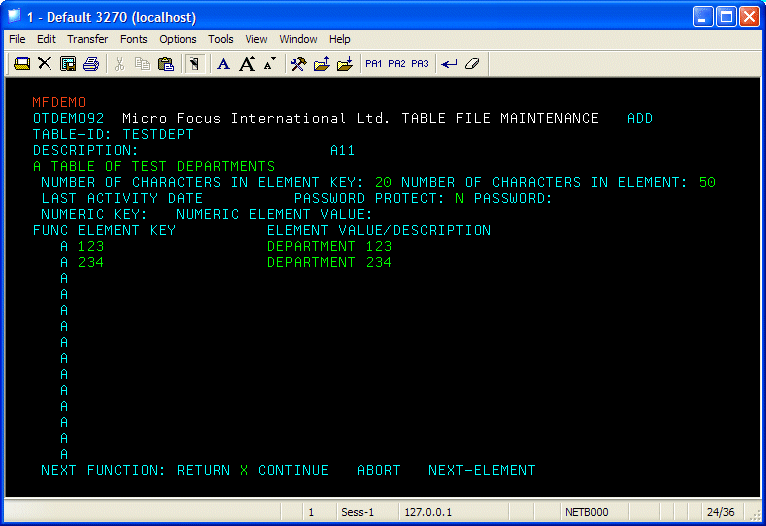
Figure 3. The "Change Testdept Table" Screen
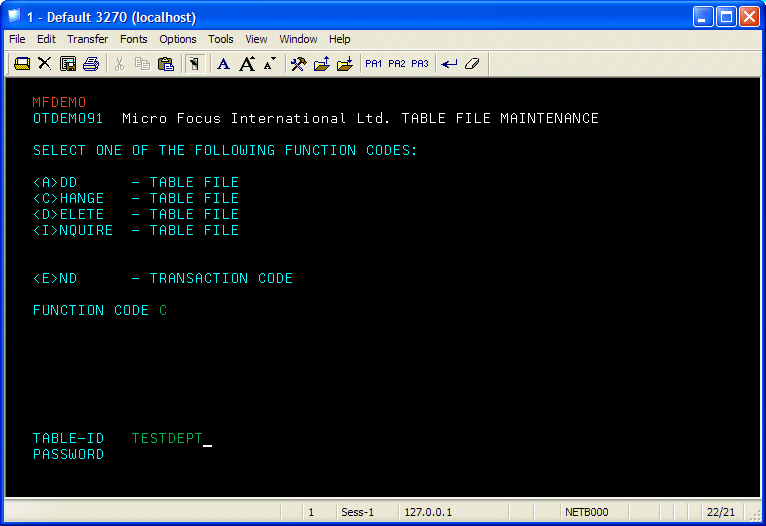
Figure 4. The "Change Testdept Elements" Screen
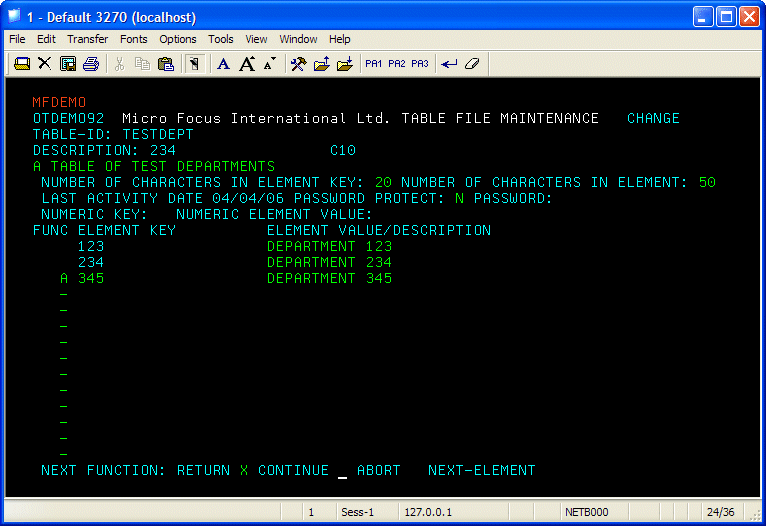
Figure 5. The "Add Testers Table" Screen
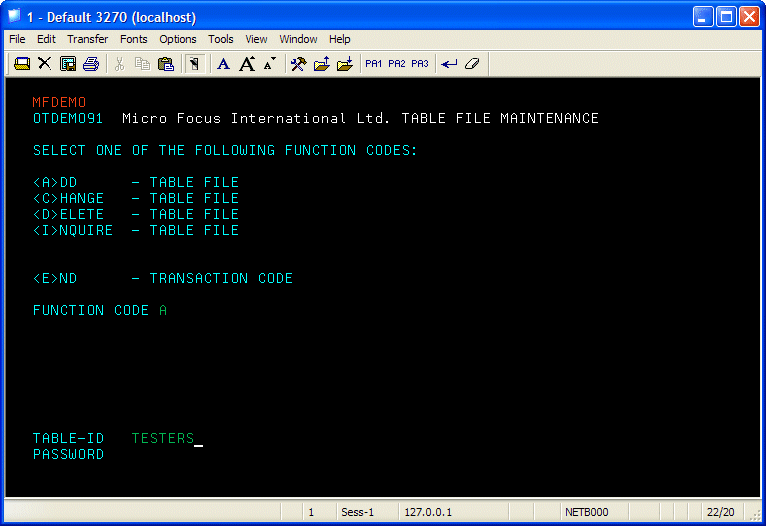
Figure 6. The "Add Testers Elements" Screen
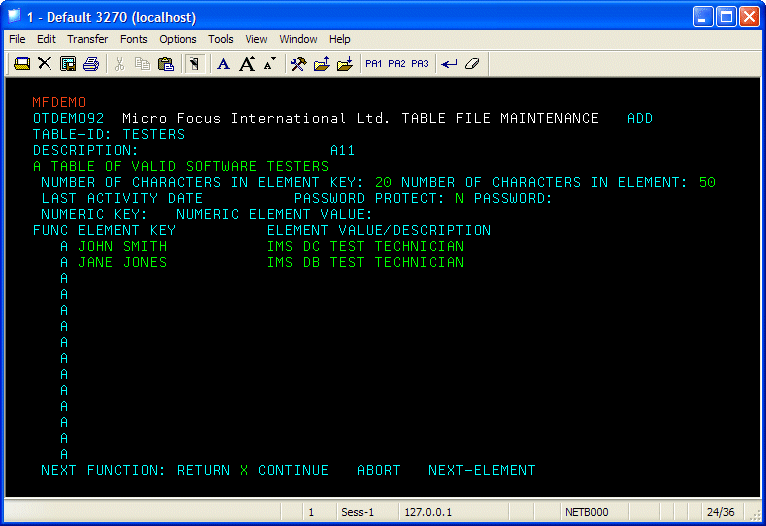
Figure 7. The "End Transaction" Screen
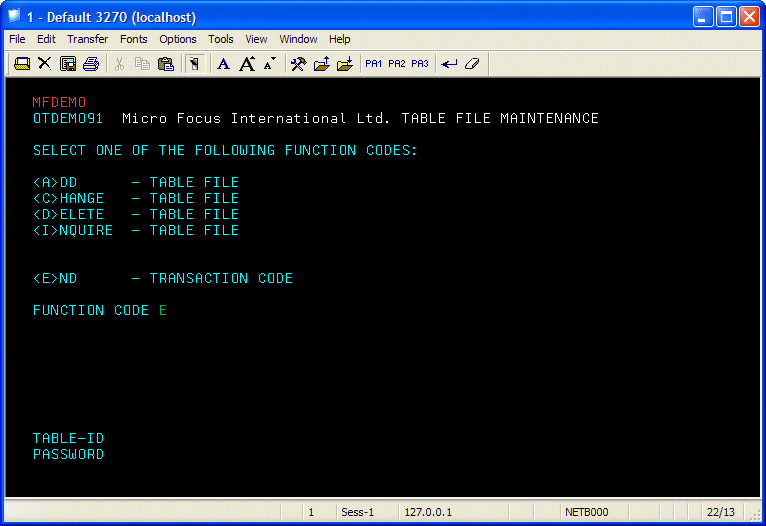
Figure 8. The "MFDEMO - ENDED" Screen
