The IMS application requires that you use a 3270 terminal emulator. The installation of
Enterprise Developer includes the
Micro Focus Rumba emulator. Rumba is available as a standalone application, Rumba Desktop, and is also available as a TN3270 Mainframe Display embedded within the IDE. As part of this tutorial, you are going to use the embedded display to run the application.
Configuring the TN3270 Settings in the IDE
To check the IDE preferences and ensure that the embedded Rumba display is selected:
- In the IDE, click
Window > Preferences.
- Expand
Micro Focus > Enterprise Server, and click
TN3270.
- Ensure that
Enable display,
Rumba (Embedded) and
Connect automatically are all selected.
- Click
OK.
Starting the
Rumba Mainframe Display View
- In Server Explorer, right-click IMSDEMO and click
Show TN3270 Display.
This opens the
Rumba Mainframe Display view and establishes a 3270 terminal connection in Rumba to enable it to connect to the IMSDEMO enterprise server. You can see the login page of the IMSDEMO application.
Note: If the Rumba Mainframe Display view does not connect automatically, click

(
Connect).
Starting the Demonstration Application
- On the IMS sign-on screen, specify a user ID and password, and then press
Enter.
If you have not configured Enterprise Server security, you can use the user SYSAD with password SYSAD.
- Clear the screen of your terminal emulator - in the
Rumba Mainframe Display view, press
CTRL+SHIFT+Z.
- Enter
MFDEMO
(with a trailing space).
The following sections describe the demonstration program and how you navigate through its screens.
IMS demonstration Screen Entries
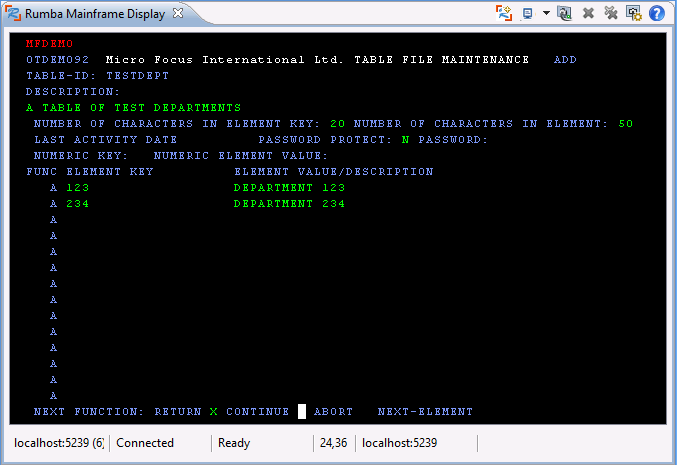
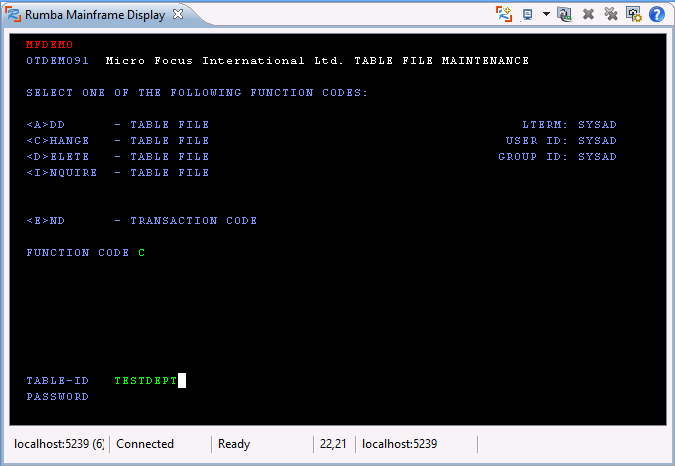
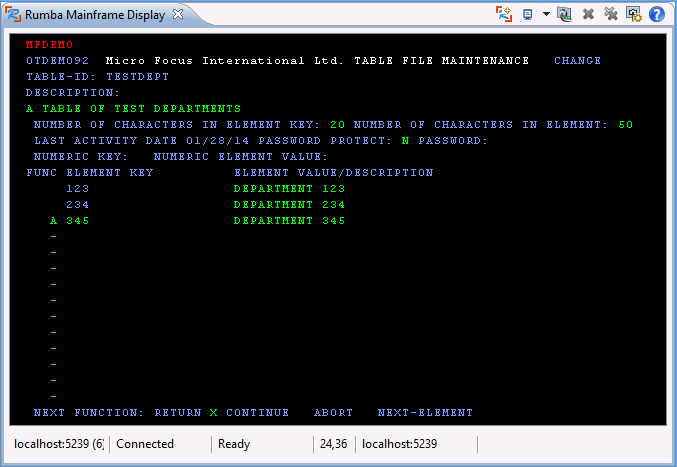
For the screens that follow, enter the options and text that is displayed in green.
Note: Each table you add must have a unique table ID.
The "Add Testdept Table" screen in transaction MFDEMO:
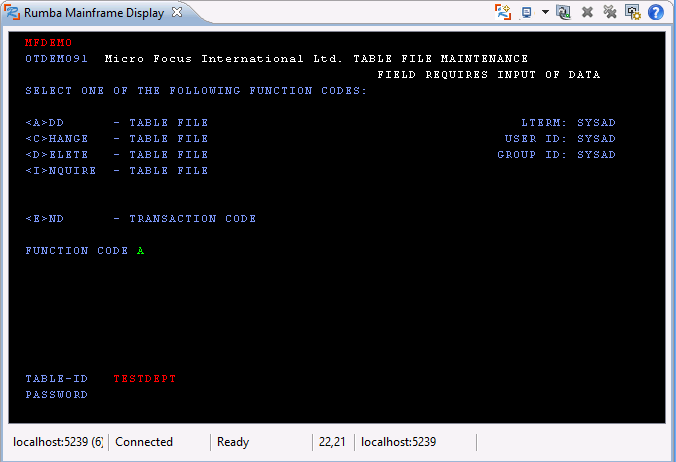
Press Enter when you have finished entering data on a screen.
On the screens that follow press Tab to move to the next field. Press Shift+Tab to move to the previous field.
The "Add Testept Elements" screen:
The "Change Testdept Table" Screen:
The "Change Testdept Elements" Screen:
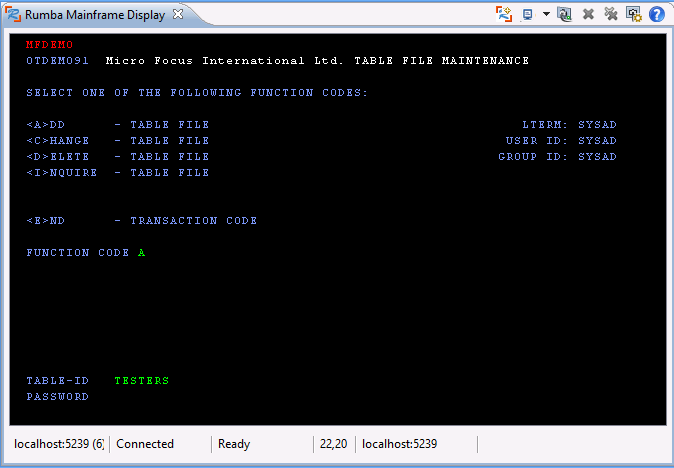
The "Add Testers Table" screen:
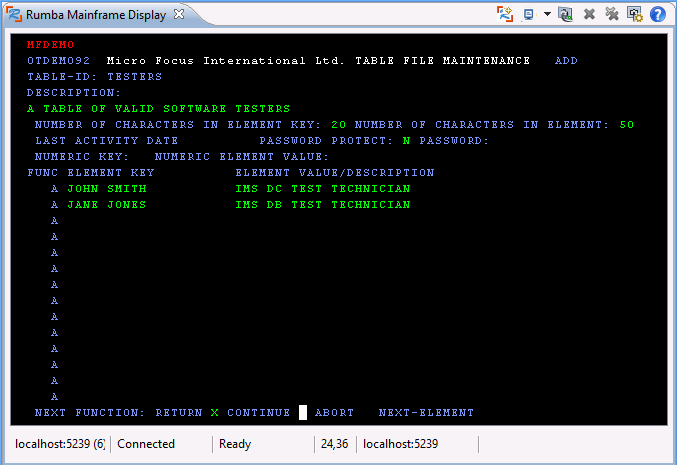
The "Add Testers Elements" screen:
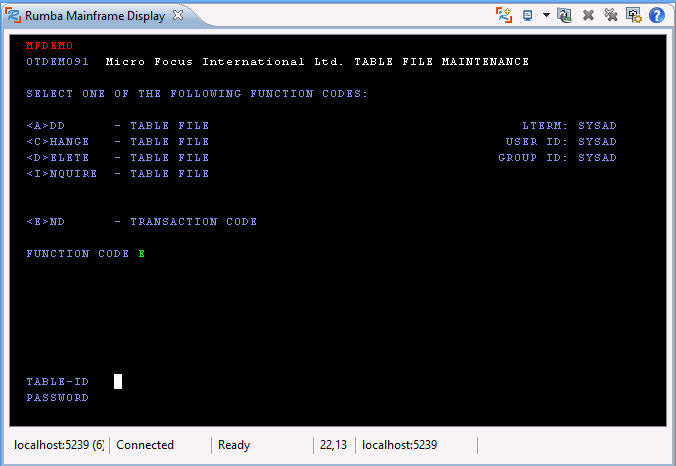
The "End Transaction" screen:
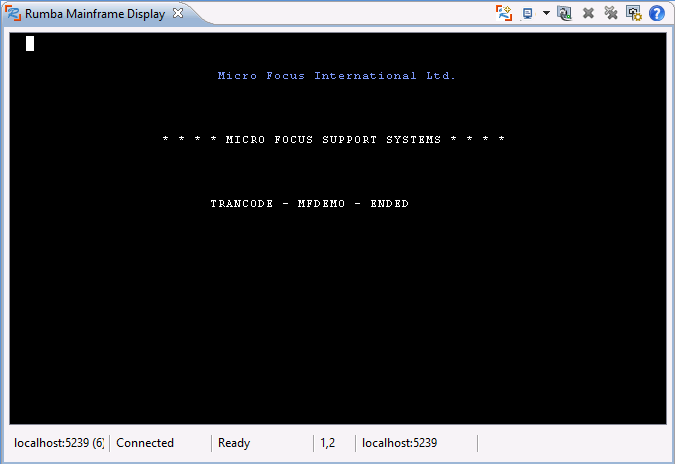
The "MFDEMO - ENDED" screen:
Note: If, instead of using the
Rumba Mainframe Display view, you are using Rumba Desktop to run this demonstration, note the following configuration details:
- Start your TN3270 emulator.
- Specify the following connection information.
Note that field names could vary depending on the 3270 emulator you are using.
| Field
|
Value
|
|
Host name
|
The dnsname or TCP/IP @ of the computer the enterprise server is running on. This is localhost on your machine.
|
|
Port
|
The port number you specified for the 3270 listener when creating the IMS-enabled enterprise server.
On versions of Windows Vista and later, if you experience issues connecting to localhost, connect to 127.0.0.1 instead.
|
- Connect.


