Configuring AWS CLI
Follow these steps to configure AWS CLI.
First, create and retrieve the AWS access keys.
- Log in to the AWS Management Console using your IAM account.
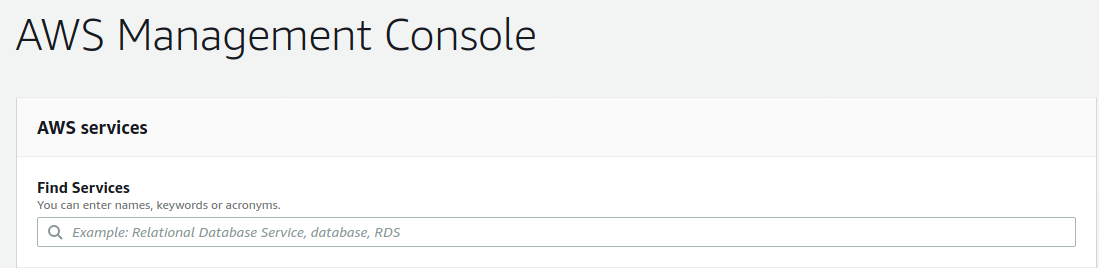
- Using the Find Services search box, browse to and open the IAM dashboard.
- In the left navigation panel, choose Users.
- Locate and open the user with which you are performing the installation.

- Select the user in IAM and display the user summary.
- On the Security Credentials tab, click Create Access Key.
- Record both the Access key ID and secret access key, and download the
.csvfile for later use.
To configure the AWS CLI:
- Launch the AWS CLI tool.
- Run the following command:
aws configure - Specify the following information:
- AWS Access Key ID: Specify the access key ID that you previously recorded.
- AWS Secret Access Key: Specify the secret access key that you previously recorded, or copy and paste the contents from the CSV file that you downloaded earlier.
- Default region name: Specify the region in which you are installing the ArcSight Suite. If you are unsure, verify your current region from the information in the top right corner of AWS console. Click on the city name and find the region name in the list. For example, eu-central-1.]
Not all AWS regions support all required services. Your selected region must support the Elastic Container Service (ECS) and Elastic Kubernetes Service (EKS).- Default output format: Specify json.
Example input:
aws configure
AWS Access Key ID [****************VPMC]: AKIA*************VPMC↲
AWS Secret Access Key [****************wFap]: eZO***********************wFap↲
Default region name [eu-central-1]: eu-central-1↲
Default output format [json]: json↲
- To verify configuration, in the AWS Cloud API, specify the command to view the default VPC description:
aws ec2 describe-vpcs
Example output:
{
    "Vpcs": [
        {
            "CidrBlock": "172.31.0.0/16",
            "DhcpOptionsId": "dopt-3a1efe53",
            "State": "available",
            "VpcId": "vpc-a71cfcce",
            "OwnerId": "115370811111",
            "InstanceTenancy": "default",
            "CidrBlockAssociationSet": [
                {
                    "AssociationId": "vpc-cidr-assoc-13d7337a",
                    "CidrBlock": "172.31.0.0/16",
                    "CidrBlockState": {
                        "State": "associated"
                    }
                }
            ],
            "IsDefault": true
        }
    ]
}
Next Step: Create the Virtual Private Cloud