Customizing the Default Login Page to Prompt for Different Credentials
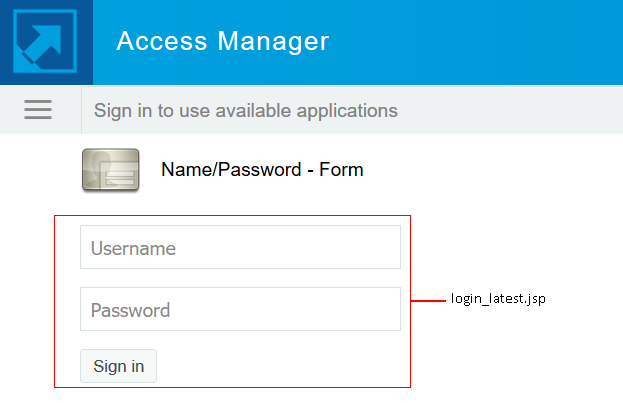
Figure 4-1 A Default Login Page with the Username Prompt
This section explains the following tasks:
-
How to modify the content of the login_latest.jsp file. If you want to modify other aspects of this page, you need to select other methods.
-
How to create a method that sets up the appropriate query so that the user can be found in the user store with an identifier other than the username (the cn attribute).
-
How to create a contract that uses this method and how to modify the login_latest.jsp page so that it prompts for the appropriate identifier such as an email address instead of a username.
Perform the following steps to customize the default login page to prompt for different credentials:
-
Create a method with the appropriate query:
-
On the page, click > [cluster name] > > > Plus icon.
-
Specify a .
-
In , select a username/password class.
-
Turn on , and configure the user store according to your needs.
-
Click > Plus icon, and specify the following properties:
Property Name
Property Value
Query
(&(objectclass=person)(mail=%Ecom_User_ID%))
This property queries the user store for the attribute you want to use rather than the cn attribute (in this case, the mail attribute of the person class). The %Ecom_User_ID% variable is the default variable name on the login page. You can change this to %EMail_Address% if you also change the value in your custom login page.
For information about how to use this property, see Query Property.
JSP
<filename>
Replace <filename> with the name of the custom login_latest.jsp page you are going to create so that the page prompts the user for an email address rather than a username. This must be the filename without the JSP extension. For example, if you name your file email_login.jsp, then you would specify email_login for the property value.
-
Click > .
-
-
Create a contract that uses this method:
-
On the page, click > [cluster name] > > > Plus icon.
-
Select the method you just created.
-
Configure other options to fit your requirements.
-
Click .
-
-
Update Identity Server.
-
Download the login_latest.jsp file from /opt/novell/nids/lib/webapp/jsp and rename it to match the value of the JSP property configured in Step 1. For example, email_login.jsp. For information about how to download a file, see Downloading Files from a Server.
Add this file to the Identity Server cluster. For information about how to add a file, see Adding Configurations to a Cluster.
-
(Conditional) If you modified the %Ecom_User_ID% variable, find the string in the file and replace it with your variable.
-
(Conditional) If you need to support only one language, modify the prompt in the login_latest.jsp file. For information about how to modify a file, see Modifying Configurations.
-
Find the following string in the file:
placeholder="<%=handler.getResource(JSPResDesc.USERNAME_UNDER_LABEL)%>"
-
Replace it with the string you want. For example:
placeholder="Email Address"
-
-
(Conditional) If you need to localize the prompt for multiple languages, create a custom message properties file for the login prompt. See To Customize Identity Server Messages.
-
Add the following definition to your custom properties file to prompt the user for an email address:
JSP.50=Email Address:
-
Translate the value and add this entry to your localized custom properties files.
-
Add the custom properties file to the /opt/novell/nam/idp/webapps/nidp/WEB-INF/classes folder of the appropriate Identity Server cluster using Advanced File Configurator. For more information, see Adding Configurations to a Cluster.
-