14.1 Joining a Windows Workstation to a DSfW Domain
Kerberos authentication requires that the domain controller’s time and the Windows workstation’s time be synchronized. After the DSfW server is installed, verify that the Windows workstations in the domain are set to get their time from this server.
You must ensure that the workstations joined to a DSfW domain have a unique machine name. A duplicate machine name will lead to an unstable domain and slow workstation logins. If you attempt to join a machine with a duplicate name to a DSfW domain, no warning or error messages will be displayed.
In case you experience slow workstation logins because of duplicate machine names in your environment, you can enforce intruder lockout. For more information, refer to the TID.
NOTE:Joining a Windows workstation to DSfW domain using the NetBIOS name fails.
NOTE:A duplicate machine name may get assigned due to reuse of the machine name or re imaging the machines in a virtualized environment.
Execute the following steps to join a Windows workstation to a DSfW domain:
NOTE:The steps might vary depending on how you have Windows configured. The examples shown are for the Windows “classic” desktop.
-
From a Windows computer on the same network as the DSfW server, go to Network Connections in the Control Panel, select Local Area Connection, and click Properties.
-
Select Internet Protocol (TCP/IP) and click Properties.
-
Select Use the following DNS server addresses. For the Preferred DNS Server, enter the IP address of the DNS server configured for DSfW, then click OK.

-
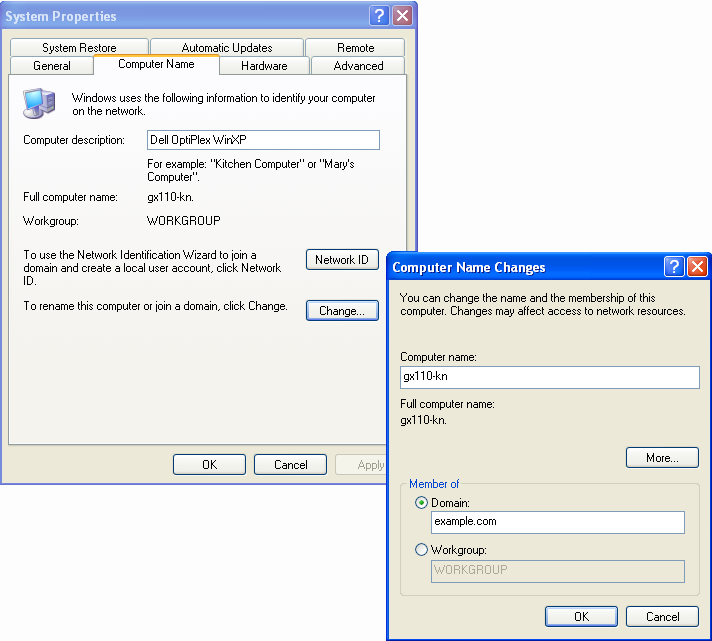
From the Start menu, right-click My Computer and select Properties.
-
On the Computer Name tab, click Change.
-
In the Computer Name Changes dialog box, select Domain, enter the DSfW domain name, then click OK.

-
When prompted, provide the name and password for an account with permission to join the domain. This is the Administrator and password configured when you installed DSfW.
-
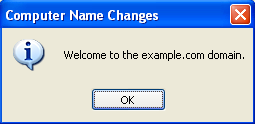
A welcome message is displayed after the computer has successfully joined the domain. Click OK to continue.

-
As prompted, click OK to restart the computer for the changes to take effect.
The computer you just joined to the domain has an object created for it in the Computers container in the DSfW domain.
A user with administrative privileges for the container that is being name-mapped can join a workstation to the domain being created.
NOTE:When you install Windows XP, it prompts you to select whether it is part of the workgroup or the domain. If domain is selected, it reports that an invalid domain is specified. However, if there is an existing Windows XP machine installed, it is possible to join this workstation to the domain.
Assume that you join a workstation to the example.com domain. After you join a workstation to the domain, a computer object is created in the default container cn=computers,dc=example,dc=com. This default container is by default associated with the default password policy cn=Default Password Policy,cn=Password Policies,cn=System,dc=example,dc=com.
The wellKnownObjects attribute on the domain container (dc=example,dc=com for the domain example.com) contains a list of well-known object containers by GUID and distinguished name. The well-known objects are system containers. If you want to place all the computer objects under a non-default custom container, you must modify the computers container entry of the wellKnownObjects attribute to include the desired container.
-
Launch iManager and connect to a DSfW server.
-
In Roles and Tasks, select Directory Administration > Modify Object.
-
Specify the domain container object in the Object name field or browse and select the domain container object and click OK.
-
Click General > Other tab.
-
Select wellKnownObjects from the Valued Attributes list and click Edit.
-
Select the entry that contains the GUID AA312825768811D1ADED00C04FD and specify the desired container in the Volume field.
After you modify the wellKnownObjects attribute entry, ensure that you associate the cn=Default Password Policy,cn=Password Policies,cn=System,dc=example,dc=com to the new Computer container. This password policy association is required for all such containers that will hold computer objects.