6.4 How to create a new NSS volume?
-
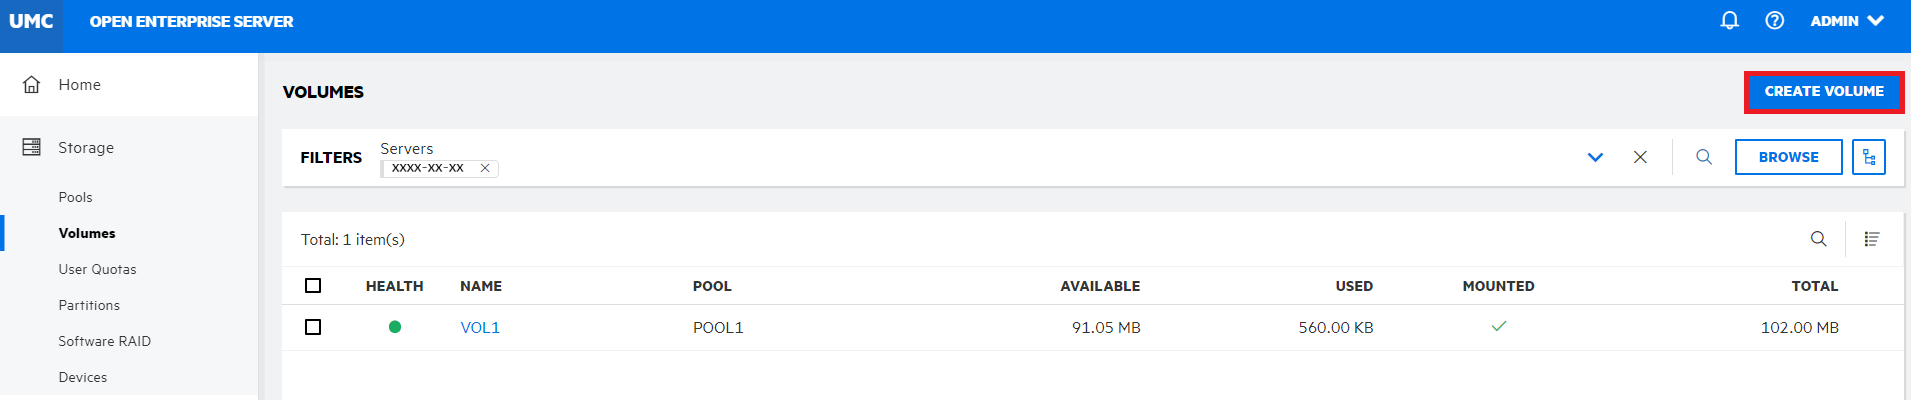
In UMC, click
 > .
> . -
Click .
-
On the page, search or browse the server to select the pool where you want the new volume to reside, and click .
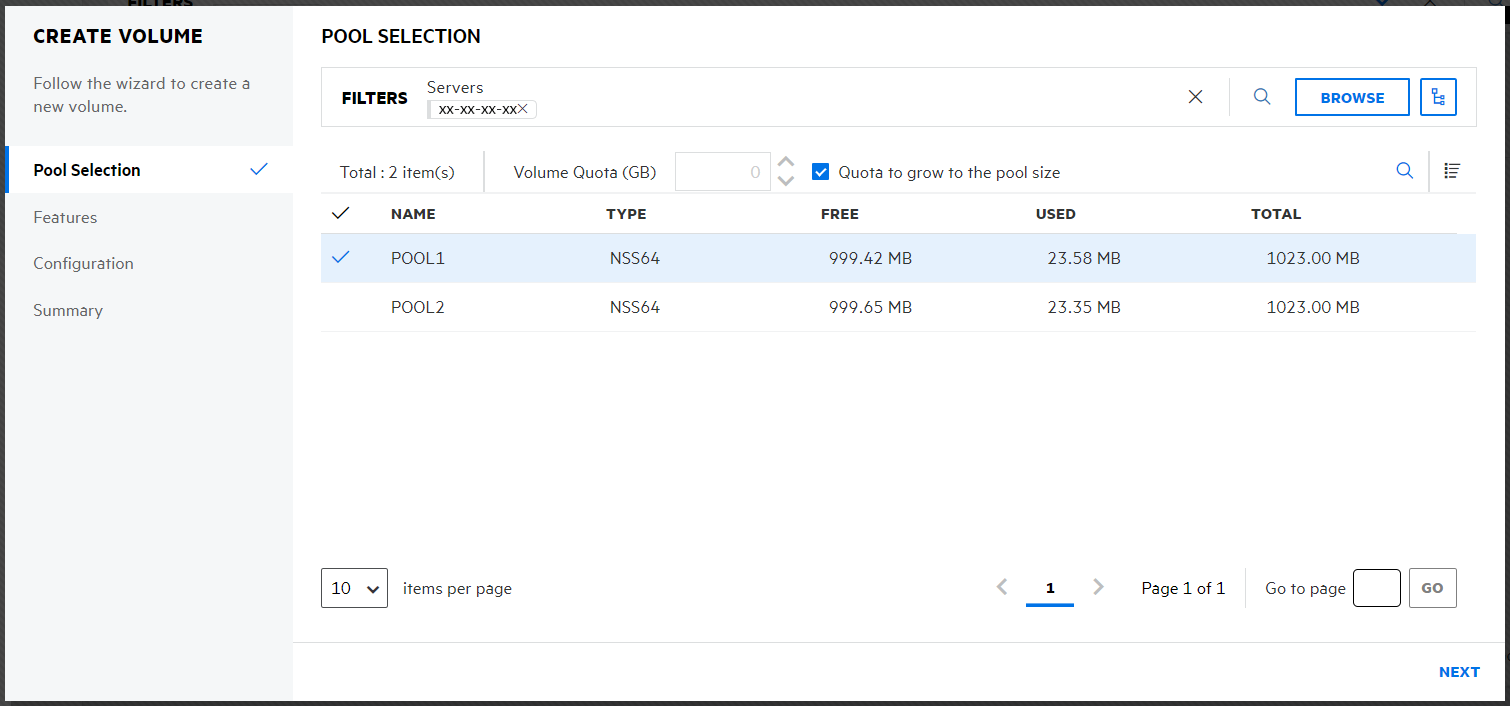
Specify the as required or select “” checkbox to allow the volume to expand to the size of the pool.
-
On the page, select the features you want to enable for the new volume, and click .
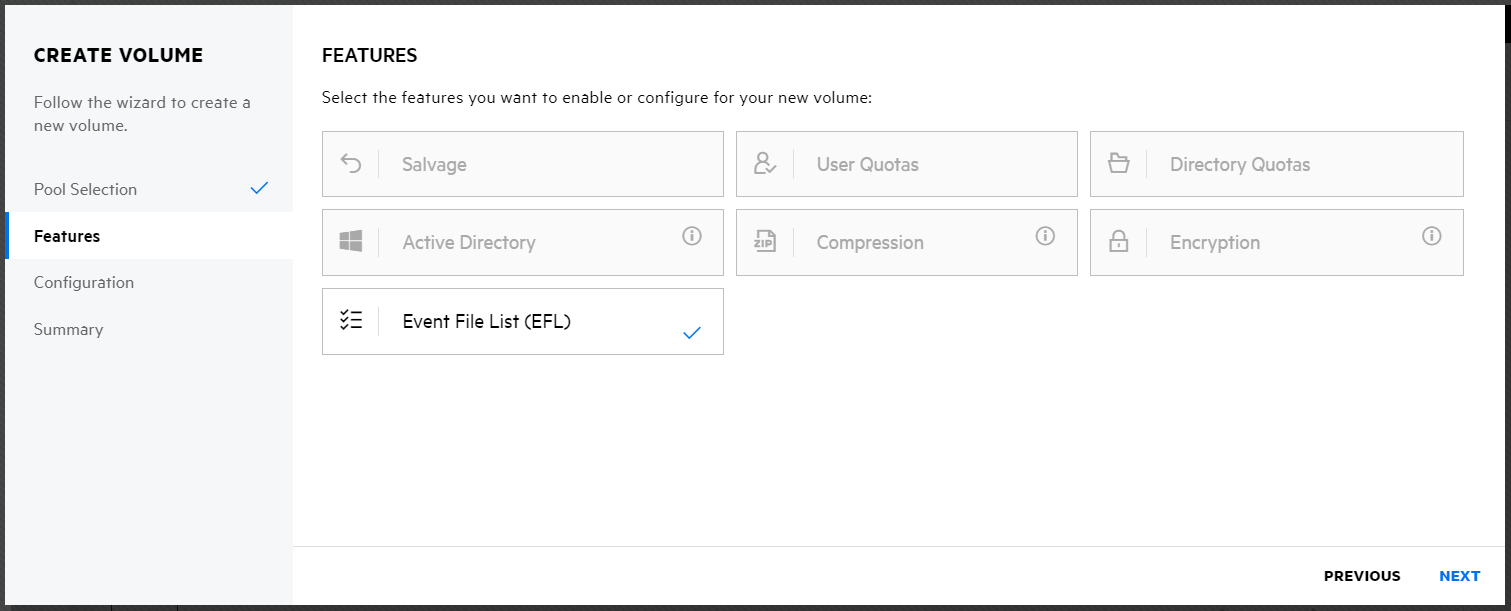
NOTE:The feature, Event File List (EFL) is selected by default and you cannot deselect it.
-
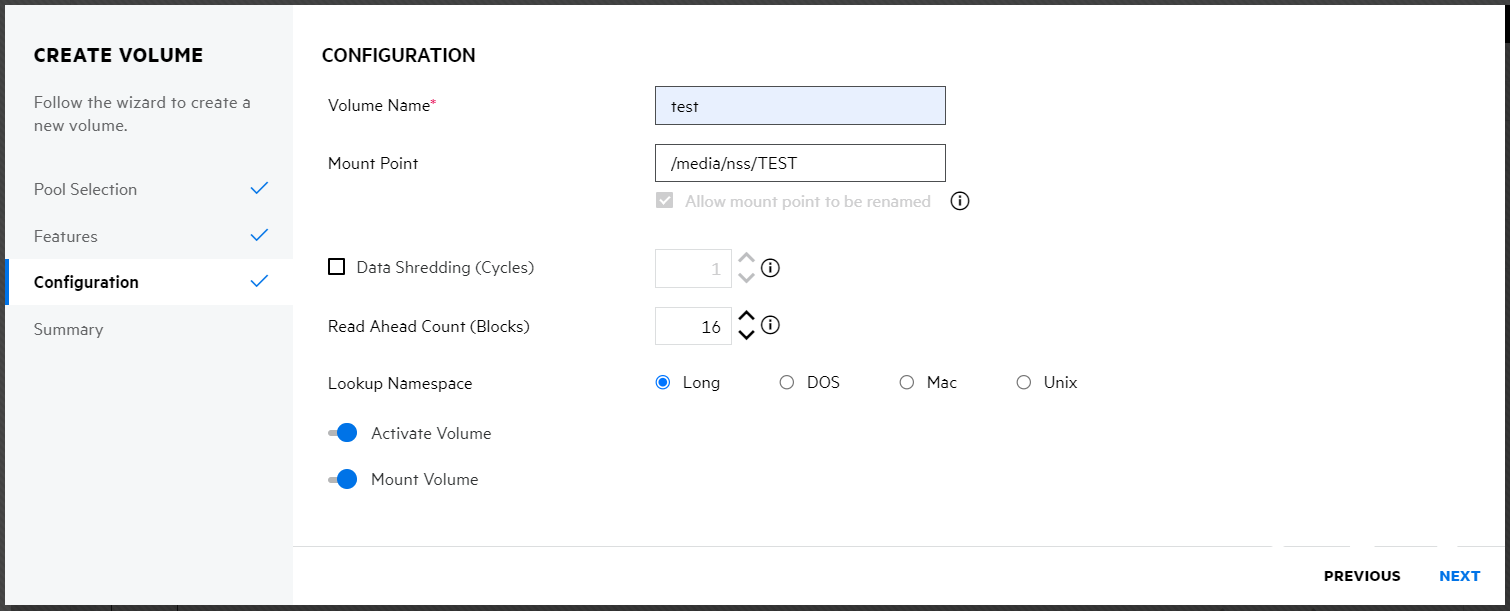
On the page, specify a name for the new volume, and click .
Enable to allow updates to the volume name or its path.
-
Review the details and click .
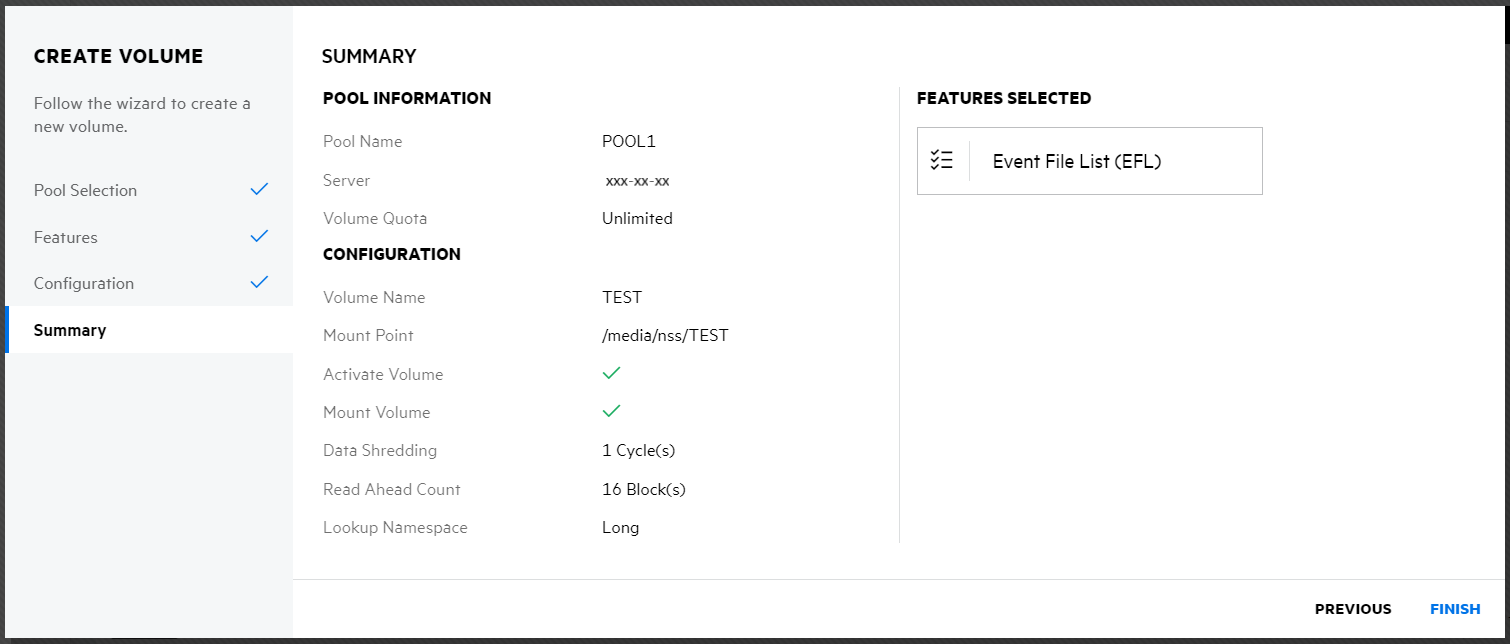
The new volume is available on the page.