3.4 What are the procedures to install and configure UMC during OES installation?
-
In the YaST install for OES, on the page, select , and then click .
-
On the page, click to go to the page.
-
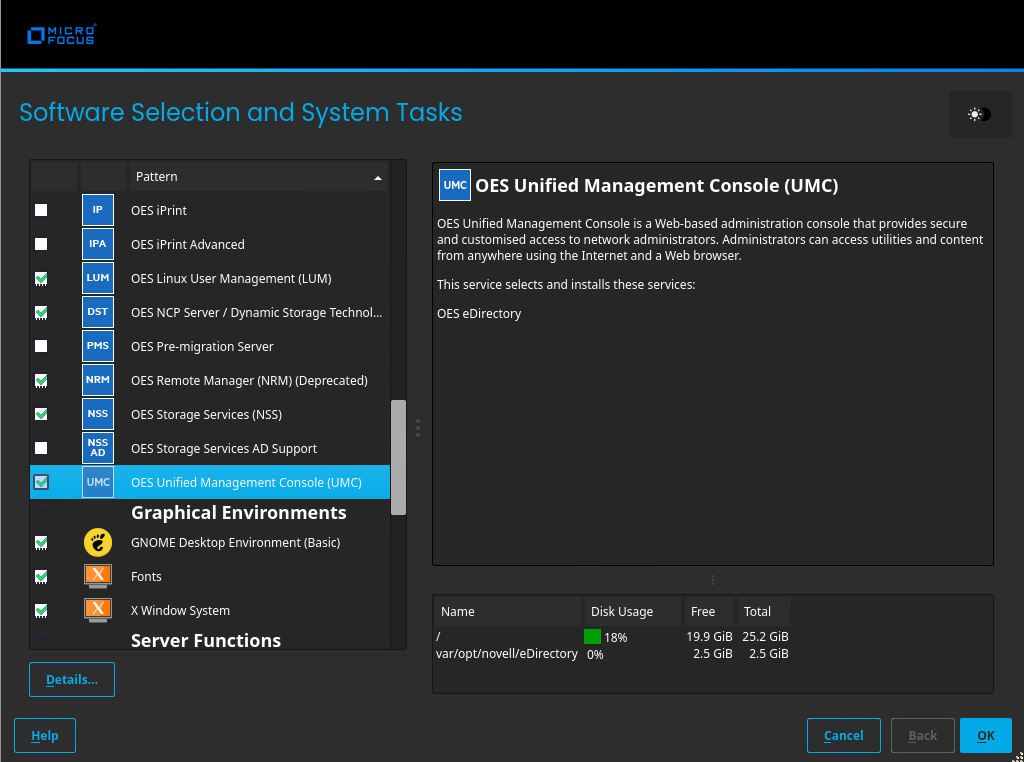
From the option, select , and click .
NOTE:The OES eDirectory is automatically selected.
-
On the page, click to perform the installation.
This action installs the packages that are required for OES. After installation, the system prompts for a reboot.
-
On the selection page, select the appropriate install option, and click .
Typical Configuration: A two-click express installation with minimal user inputs. This method collects only essential information to proceed with the OES configuration and uses default values for most options. In case you want to modify the default configuration parameters on the OES install summary screen, click the respective links and modify them.
Custom Configuration: This method of OES configuration requires inputs for all parameters.
-
Specify the required details for the respective OES configuration and click .
-
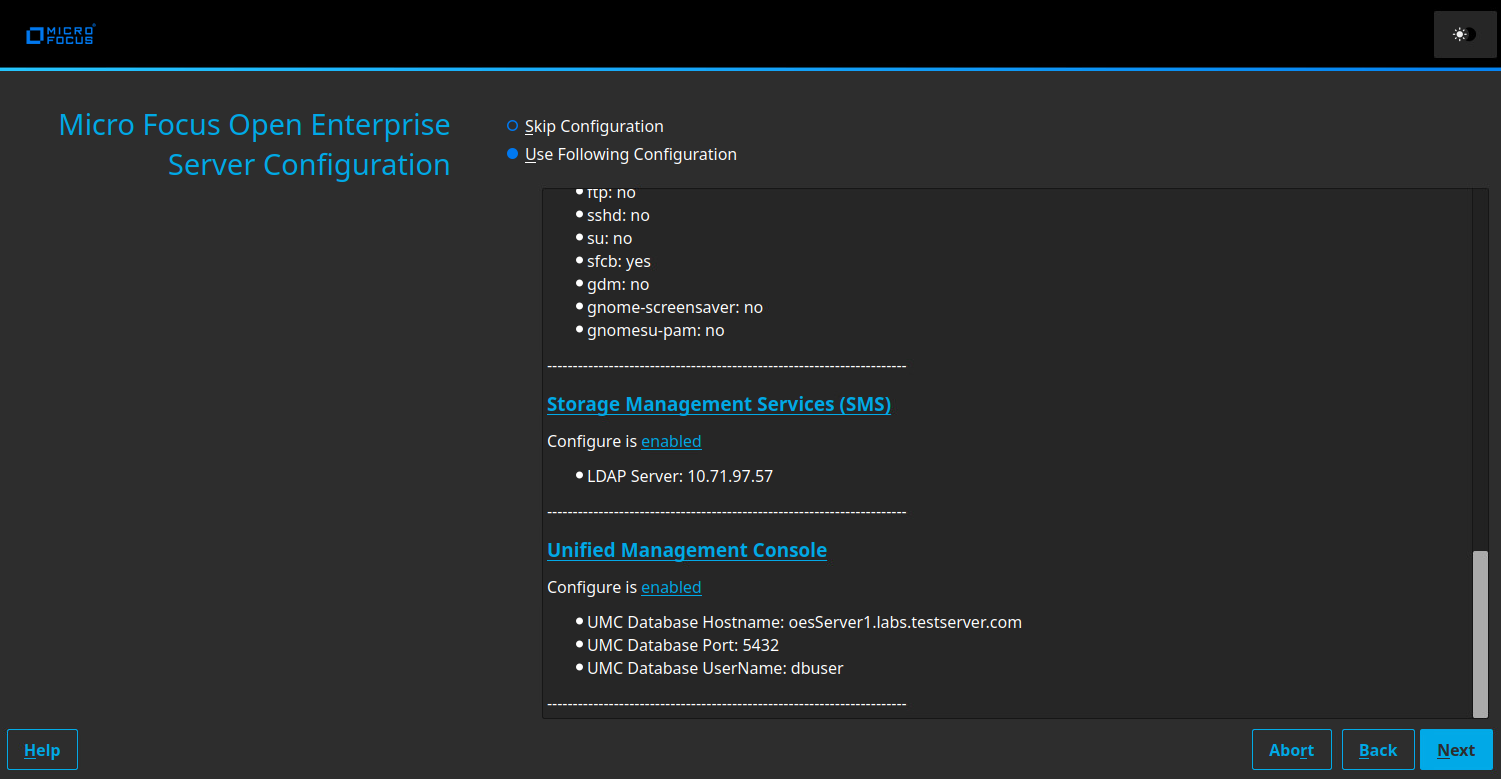
On the page, select .
-
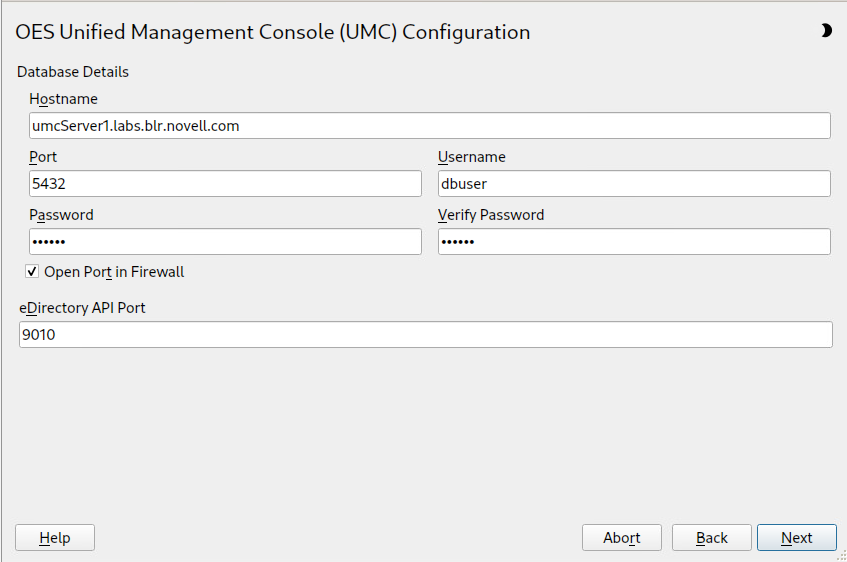
On the page, specify new PostgreSQL database details, and click .
UMC ships with PostgresSQL by default. The database port number is 5432 and eDirectory API port is 9010 by default and can be modified if necessary.
-
On the OES Configuration page, click to start the configuration process.
After the successful configuration, click .
NOTE:Use the command "yast2 umc" to configure UMC post UMC pattern installation.