4.3 How to create a new pool?
-
In UMC, click
 > .
> . -
Click .
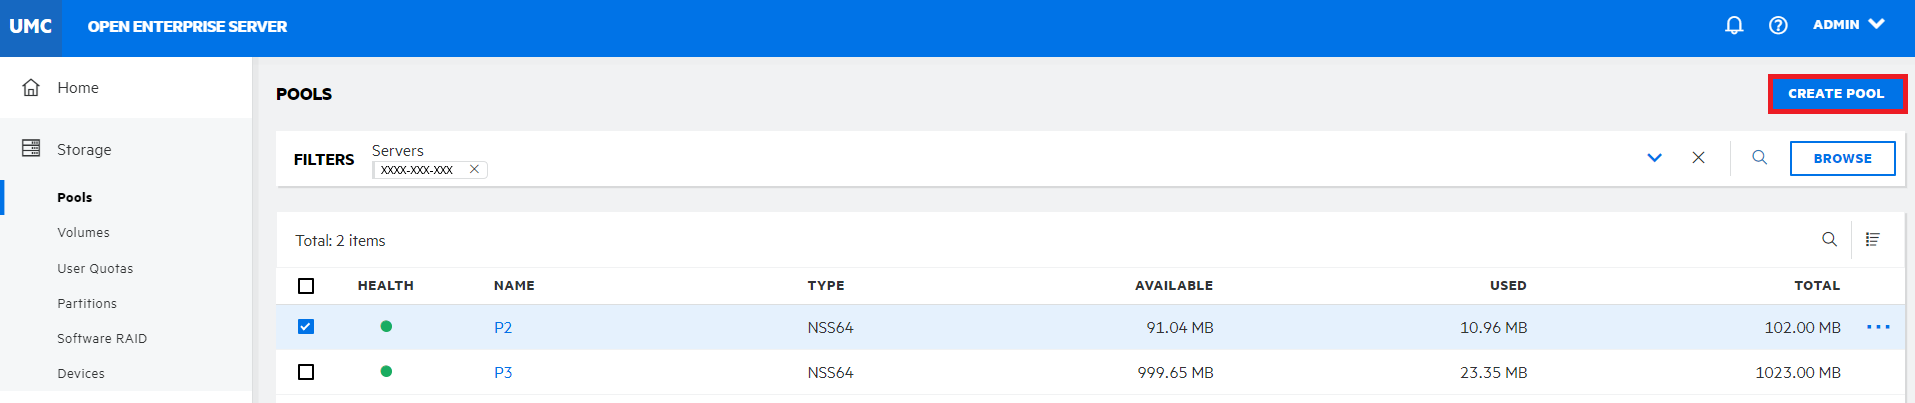
-
On the page, search or browse to select the server, and select the required device(s).

-
Specify the device space up to the free space available on the devices for the pool, and then click .
Only initialized devices that have free space are listed on the device selection page. If no devices are listed, cancel the wizard, add more devices to the server or free up space on the existing devices.
-
On the page, specify a name for the new pool, then click .
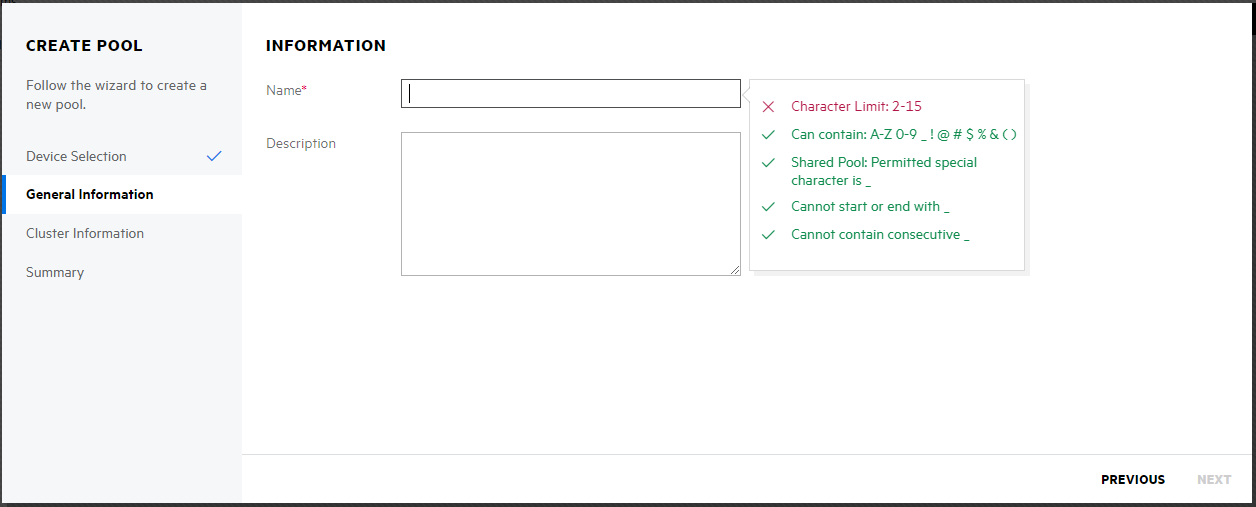
The description is an optional field. All the NSS64-bit pools are AD media upgraded by default.
-
If the selected device type is shared, on the page, specify the details as required, and then click .
The Enable Cluster toggle is automatically turned on. Turn it off to create a non-clustered pool with shared devices.
NOTE:This page is not available if the selected device type is local on the page.

Parameters Required for Cluster Enabled Pools:
-
Virtual Server Name: This name is assigned to the virtual server that represents the shared pool in the cluster. When you cluster-enable a pool, a virtual server object is automatically created in eDirectory and given the name of the cluster object plus the name of the cluster-enabled pool. For example, if the cluster name is cluster1 and the cluster-enabled pool name is pool1, then the default virtual server name will be cluster1_pool1_server. You can edit the field to change the default virtual server name. The virtual server name used for NCP and CIFS servers will be the same.
-
IP Address:The IP address that you want to assign to the virtual server. Each cluster-enabled NSS pool requires its own IP address. The IP address is used to provide access and fail-over capability to the cluster-enabled pool (virtual server). The IP address you assign to the pool remains assigned to the pool regardless of which server in the cluster is accessing the pool.
IMPORTANT:The IP address for the virtual server must be in the same IP subnet as the server nodes in the cluster where you plan to use it.
-
Advertising Protocols: Protocols that give users native file access to data.
Specify one or more advertising protocols by using the toggle button of the protocols you want to enable for data requests to this shared pool.
-
OES NCP: NCP is the networking protocol used by the Client for Open Enterprise Server. It is selected by default. Selecting NCP causes commands to be added to the pool-resource load and unload scripts to activate the NCP protocol on the cluster.
-
CIFS: CIFS is a Windows networking protocol. Selecting CIFS causes commands to be added to the pool-resource load and unload scripts to activate the CIFS protocol on the cluster.
-
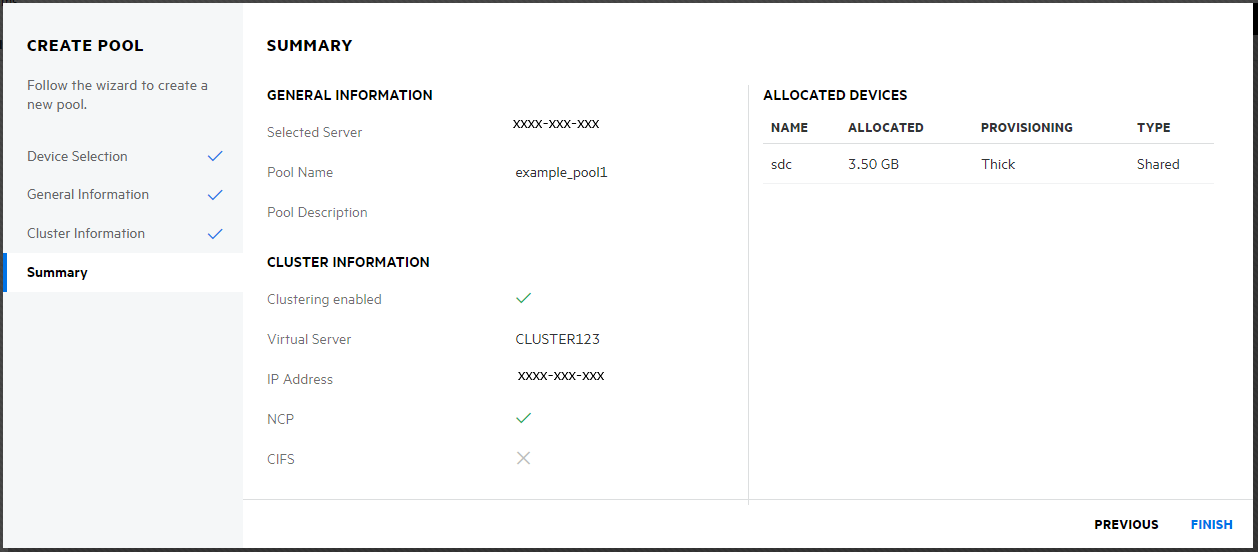
-
Review the pool details, and click to create the pool.