Creating a Test Fixture
You now need to add a test fixture file to the unit test project.
-
In
Application Explorer view, ensure that the TestAirportDemo project is selected, then click
.
This opens the New dialog box.
- Expand Micro Focus COBOL, and then click COBOL Unit Test.
-
Click
Next.
This opens the New COBOL Unit Test dialog box.
- Select Program Unit Test and click Next.
- In the Containing project field, ensure that it states the TestAirportDemo project.
- In the New file name field, type DistanceTest.
- Select Create unit test for program, click Browse, select the aircode.cbl program (from within the AirportDemo project), then click OK.
-
Click
Finish.
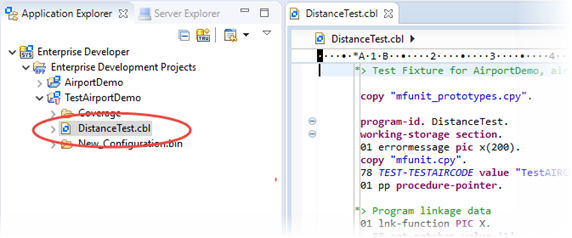
The DistanceTest.cbl test fixture file is created within the TestAirportDemo unit test project.

-
Before you can run the unit test project, you need to ensure that it shares the same platform target value as the project
under test. In this case, the AirportDemo project is 32 bit, and so the TestAirportDemo project also needs to be set to 32
bit:
- Right-click TestAirportDemo and select Properties.
- Select .
- Ensure that Bitism is set to 32 bit, then click Apply and Close.
-
Review the following items that have been added to the resulting fixture file. They are all required to allow you to call
into the AirportDemo project:
- The two copybooks required by the
Micro Focus Unit Testing Framework are copied into the project.

- A test setup and a test case have been created.

- A procedure pointer has been added to the test setup that enables you to call into the source code, and a level 78 constant
for the test case name has been added (to help when creating the different elements of the test case).

- The Linkage section from the source program has been replicated in the Working-storage section, initialized, and a CALL statement
coded in the test case.

- The project containing the program under test is added to the
Projects tab of the Build Path properties.

- The two copybooks required by the
Micro Focus Unit Testing Framework are copied into the project.